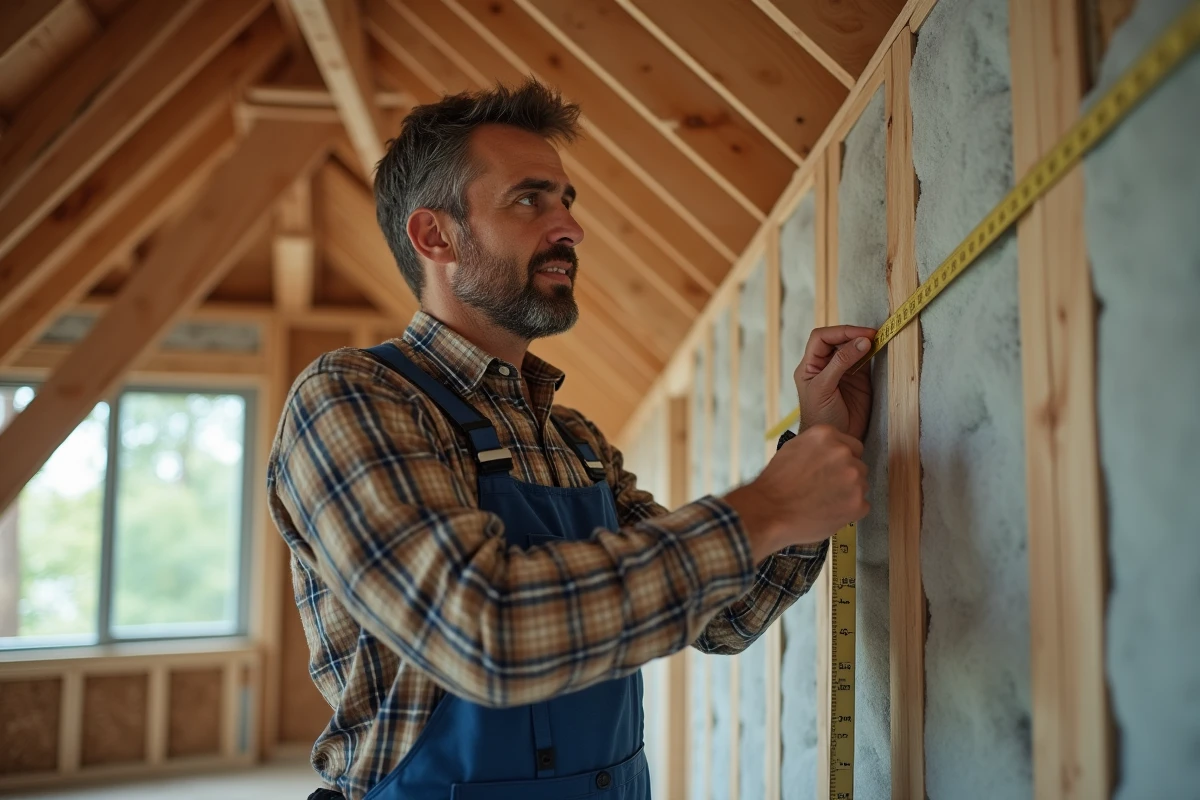
A slope disrupts the way of measuring a wall in one fell swoop. It’s impossible to simply add length and height to get it right. This small difference in the formula can unexpectedly inflate the material costs or lead to an unpleasant surprise during the construction phase.
Classic methods fail as soon as the shape of the wall deviates from the perfect rectangle. Fortunately, there are a few free tools available to put an end to approximations and obtain a reliable surface, even when faced with unconventional wall profiles.
Understanding the basics of square meter calculations for a sloped wall
To calculate the surface area of a sloped wall in m2, start by understanding the geometry of the wall. Most sloped surfaces, under a gabled roof, a gable, or a dome, resemble a triangle or a mix of rectangles and triangles. The choice of the formula depends on this shape. For a triangular section, the rule is simple: area = (base x height) / 2. This approach is often found in the case of slopes, where the wall follows the pitch of the roof. The height to consider is the maximum vertical distance between the base and the top of the wall. The base usually rests on the ground or on a straight beam. If the wall has multiple segments, add each calculated area separately. As soon as the shape becomes more complex, break it down: rectangle for the straight part, triangle for the slope.
| Type of shape | Surface formula |
|---|---|
| Rectangle | length x height |
| Triangle | (base x height) / 2 |
The roof slope directly affects the area to be considered. The steeper the slope, the larger the triangular area becomes. Be sure to clearly distinguish between straight walls and sloped parts to avoid skewing the calculation. A precise measurement, taken with a laser or with a tape measure and a level, remains key. Calculating the surface area of a wall in m2 is primarily a matter of accuracy, essential for budgeting materials or requesting a reliable quote.
What elements should be considered for accurately measuring a sloped surface?
To measure a sloped surface without error, it is essential to rely on a rigorous method and the right tools. Equip yourself with an accurate tape measure, a spirit level to check the slope, and the building plan if you have access to it. Be careful to measure the height of the wall from the bottom to the top of the slope, without neglecting the length and, depending on the configuration, the width of the room. Some elements complicate the measurement. If the wall has dormers, skylights, or a chimney, remember to subtract their surface area from the total. When the shape deviates from the classic framework, segment it: divide the wall into simple parts (triangles, rectangles), calculate each piece separately, then add them up. The slope is sometimes calculated as a percentage: (100 x height) / width. It can also be expressed in degrees, using the formula: (180 x ATAN(height/width)) / π. Mastering this data limits estimation errors, especially for roofing work or the installation of materials. To avoid any approximation, take into account the ceiling height, a decisive criterion in attics or under a slope. Measure in several places, especially if the floor or ceiling is uneven. Finally, systematically deduct the surface area of openings (doors, windows) to obtain the usable area to paint or cover.
Tools and tips to simplify calculations and avoid errors
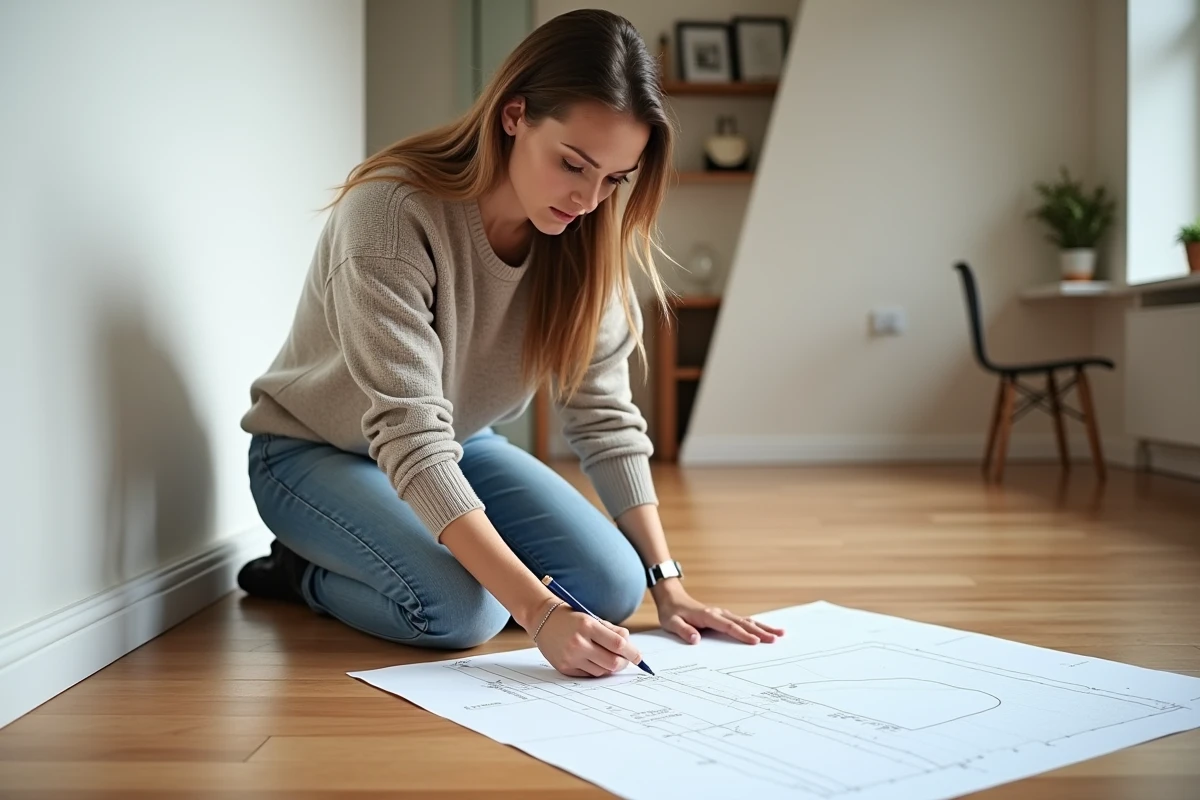
To determine the surface area of a sloped wall without getting tangled in numbers, there are effective tools and proven methods. The tape measure remains essential, but online calculation simulators allow you to validate your measurements in just a few clicks, with appreciable reliability. These simulators take into account the specifics of sloped walls: slopes, variable heights, atypical shapes. To organize without a hitch, divide the area to be measured into simple geometric shapes. Use the triangle for slopes, the rectangle for straight sections. Note each dimension, then apply the appropriate formula: (base x height) / 2 for a triangle, length x width for a rectangle. Add all these areas to obtain the total area, whether for painting, applying wallpaper, or calculating the amount of materials needed. In attics or sloped rooms, it can be tempting to underestimate the actual surface area. To avoid this trap, take each measurement at the floor and ceiling level, as the differences between the two influence the result. To limit discrepancies, check the consistency of your measurements with a spirit level. As soon as the configuration becomes complex, consulting a professional secures the calculation. The obtained surface determines the budget for the work, the amount of materials to be planned, and the reliability of a quote. An accurate estimate avoids unpleasant surprises, frames the budget, and prepares the site on solid foundations. In the end, everything depends on the precision of the gesture and the clarity of the numbers. A well-measured sloped wall promises a straightforward construction process and a result that meets expectations.